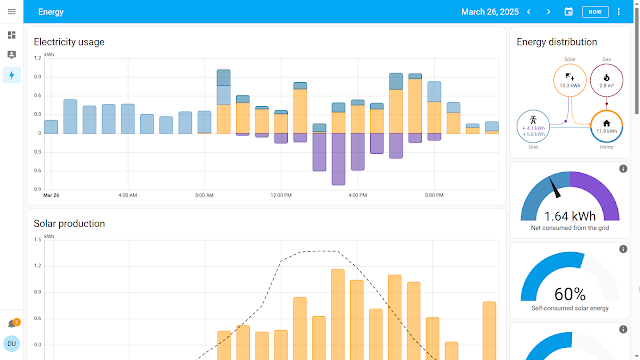
Home Assistant is a widely adopted open-source home automation software that works on both full fledged PC's, as well as in micro-computers such as Raspberry Pi. We will learn today on how to install and configure on Windows PC.
To deploy the Home Assistant Frontend repository on a Windows PC, follow these steps:
1. Prerequisites
- Install Node.js: Download and install Node.js, which includes npm (Node Package Manager).
- Install Git: Download and install Git to clone the repository.
- Install Yarn: Yarn is required for dependency management. Install it globally using npm:
npm install -g yarn - Install Python: Some dependencies may require Python. Install Python 3.x and ensure it's added to your PATH.
2. Clone the Repository
- Open Command Prompt or PowerShell and run:
git clone https://github.com/home-assistant/frontend.git - Navigate to the cloned directory:
cd frontend
3. Install Dependencies
- Run the setup script to install all required dependencies:
script/setup
4. Start the Development Server
- To start the development server, run:
script/develop - This will build the frontend and start a local development server.
5. Access the Frontend
- Open your browser and navigate to the local server address (e.g.,
http://localhost:3000).
6. Additional Notes
- If you encounter issues, ensure you have the latest versions of Node.js, Yarn, and Python installed.
- For more detailed instructions, refer to the official GitHub repository.
Let me know if you need help with any specific step! 😊


No comments:
Post a Comment